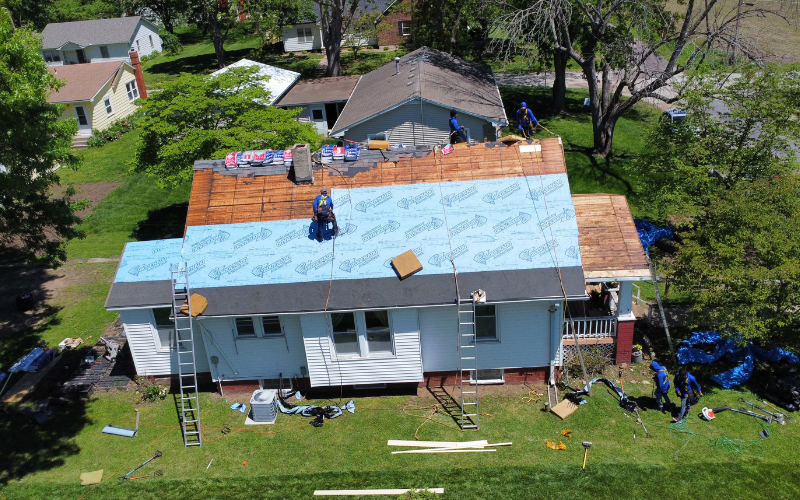

Storms can cause severe damage to your home’s roof, which is your first line of defense against harsh weather. Knowing how to handle roof damage after a storm is crucial to protect your home and prevent further complications.
Follow this step-by-step guide to assess the damage, make temporary repairs, and take action to restore your roof efficiently.
Step 1: Ensure Safety First
Before assessing any roof damage, make sure it’s safe to do so. Avoid going outside during a storm or immediately after it passes, as debris, downed power lines, or loose materials may become a threat. Wait until weather conditions stabilize and hazards like wind or lightning have passed before starting your inspection.
Step 2: Document the Damage
Once it’s safe to inspect your roof, start by thoroughly documenting any visible damage. Use your phone or camera to take clear pictures and videos from various angles. Capture damaged shingles, torn flashing, fallen branches, and any visible holes or leaks in your roof.
This documentation will be essential for filing insurance claims and will help you track the extent of the repairs needed.
Step 3: Check Inside for Leaks
Storm damage isn’t always visible from the outside. Inspect the interior of your home, particularly in the attic, for any signs of water leaks. Look for water stains on ceilings, walls, or near chimneys and vents. Moisture can indicate a compromised roof, and catching this early can prevent further water damage.
Step 4: Temporary Fixes to Prevent Further Damage
If you notice any leaks or holes, it’s important to take immediate action to prevent additional water damage. Use tarps, plywood, or roofing tape to cover the affected areas. This will provide temporary protection until professional repairs can be performed.
Step 5: Contact Your Insurance Company
Notify your insurance company as soon as possible to file a claim. Provide them with the documentation (photos and videos) of the storm damage, along with a detailed description of what happened. An insurance adjuster will likely visit to assess the damage and determine coverage.
Make sure you understand your policy, particularly in terms of what’s covered, deductible amounts, and whether you can choose your own roofing contractor.
Step 6: Hire a Professional Roofing Contractor
While it may be tempting to try and handle repairs yourself, storm damage often requires the expertise of a professional roofer. Reach out to a trusted, licensed roofing contractor with experience in storm damage repairs. They can assess the full extent of the damage, recommend the best course of action, and ensure the work is done to high standards.
Note: Always work with a contractor who can assist you with the insurance claim process and offer warranties on repairs.
Step 7: Get a Detailed Inspection
A professional roofing contractor should conduct a thorough inspection of your roof. They’ll check for missing shingles, damaged flashing, loose gutters, and compromised roof structures that may not be visible to the untrained eye. They should also assess hidden damage to the roof decking, insulation, and support beams, ensuring a comprehensive repair plan.
Step 8: Obtain Written Estimates
Before committing to any repair work, request written estimates from several roofing contractors. Compare their prices, warranties, and scope of work to ensure you’re getting the best value. Avoid contractors that offer suspiciously low prices, as this could indicate subpar materials or rushed work.
Step 9: Complete Roof Repairs
Once you’ve selected a contractor, proceed with the necessary repairs. Ensure that all damaged materials are replaced and that your roof is restored to its pre-storm condition or better. Reputable contractors will work quickly and efficiently while keeping you informed throughout the process.
Step 10: Schedule Regular Roof Maintenance
After repairs, schedule regular roof maintenance to prolong the lifespan of your roof and avoid future damage. Have your roof inspected yearly and after any major weather event. This proactive approach will help catch any issues early and prevent costly repairs down the line.
Handling roof damage after a storm can be overwhelming, but taking the right steps will help protect your home and minimize further issues. Remember, safety should be your top priority, and working with a licensed roofing professional will ensure that repairs are done properly. With the right approach, you can restore your roof quickly and keep your home safe from future storms.
At Tectum, we have 40+ years of combined experience in providing top-notch roofing services. Whether you need minor repairs or a full roof replacement, we are committed to delivering the highest standards in the industry.
Our expert team will guide you through the entire process, from assessing the damage to working with your insurance company, ensuring your home is fully protected.
Contact us today for a FREE roof inspection and let us help you restore your home after the storm!
We specialize in all types of roofs, from shingles, tile, metal to torch-downs. We have you covered! With over 15,000 roofs built, you can count on us on having the experience needed to complete your projects with the speed and highest standards
When it comes to multi-family roofing projects, our professional roofing crews and project managers are leaders in the industry.
At Tectum Construction & Roofing we know how important your property is for you. With our experienced team you can be sure that we will help you find the best upgrade or solution for your roof.
Gutters are an integral part of your home’s defense against water damage, and maintaining them regularly ensures that your roof, foundation,
Timely roof repairs can prevent hidden costs from piling up and save you money in the long run.
While flashing may seem like a small component of your roof, it plays an outsized role in protecting your home from water damage.